How to Get Started with Trezor.io/start: Your Complete Guide
In the world of cryptocurrency, security is everything. With cyber threats constantly evolving, protecting your digital assets should be your top priority. That’s where Trezor.io/start comes in — the official starting point to set up your Trezor hardware wallet safely and efficiently. In this blog, we’ll walk you through what Trezor.io/start is, how to set up your device, and tips for keeping your crypto secure.
What is Trezor.io/start?
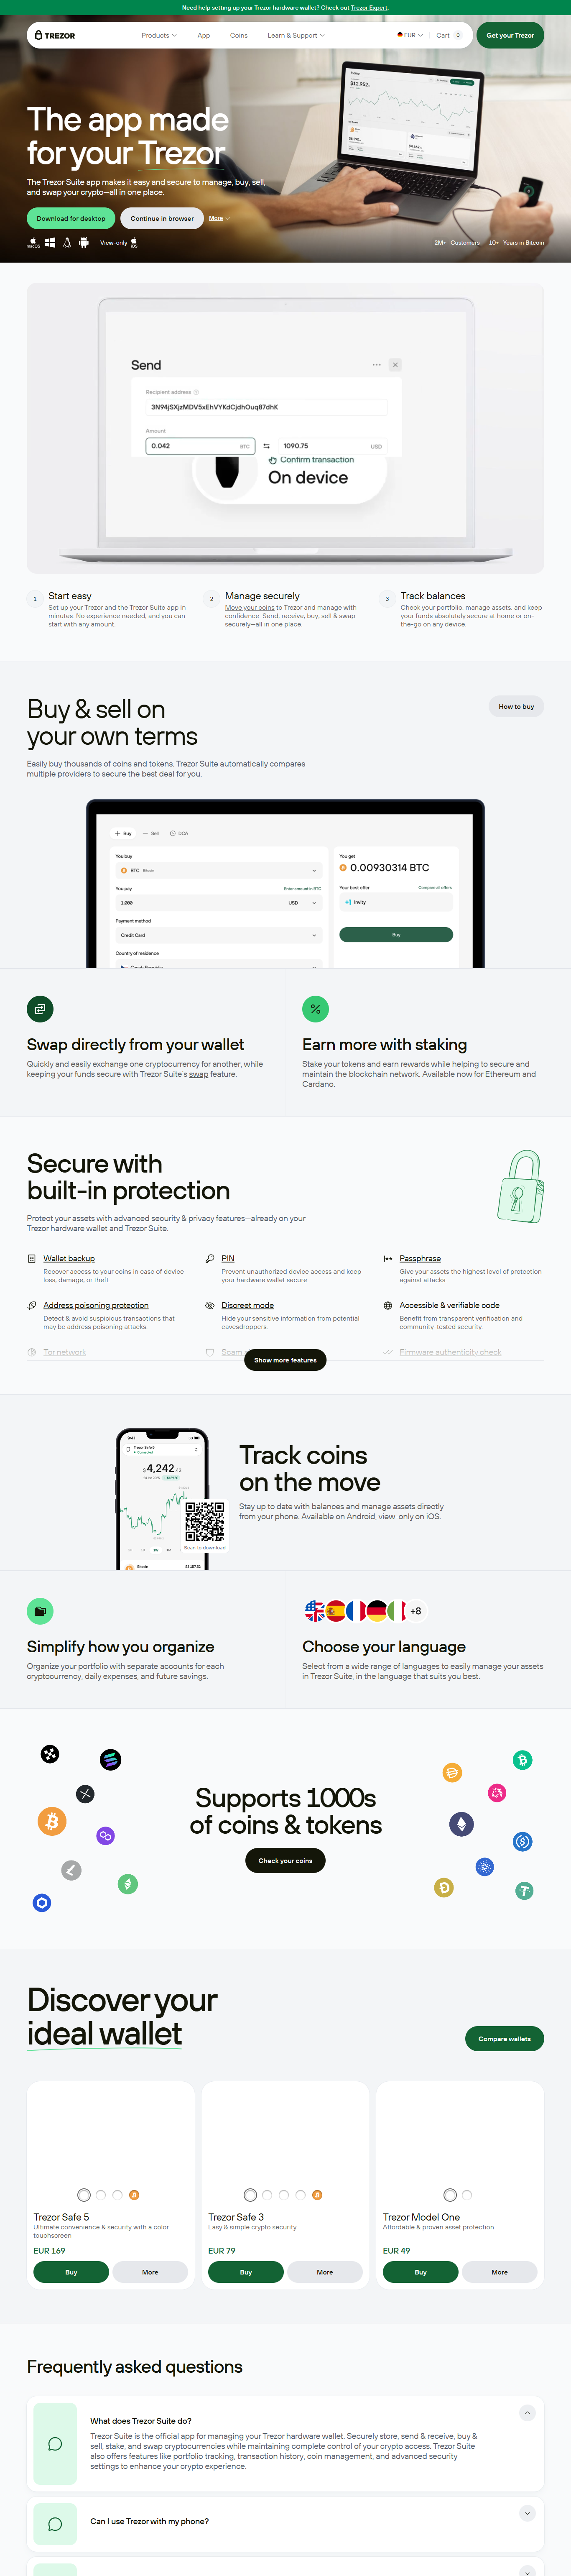
Trezor.io/start is the official setup page for Trezor hardware wallets. Whether you own a Trezor Model One or Trezor Model T, this webpage guides you through the step-by-step process of initializing your wallet, installing the required firmware, and backing up your recovery seed securely.
Using the official site ensures you’re downloading genuine software and following verified security practices. This is crucial to avoid phishing scams that target crypto users.
How to Set Up Your Trezor Wallet Using Trezor.io/start
Setting up your Trezor wallet via Trezor.io/start is simple if you follow the instructions carefully. Here’s an overview of the steps:
- Connect Your Trezor Device Plug your Trezor device into your computer using the USB cable provided.
- Go to Trezor.io/start Open your web browser and enter Trezor.io/start. Choose your device model and follow the on-screen prompts.
- Install Trezor Suite Trezor Suite is the official desktop application for managing your crypto assets. Download and install it directly from the setup page to ensure you’re getting the genuine version.
- Install Firmware If it’s your first time using the device, you’ll be prompted to install the latest firmware. This step keeps your wallet secure and up-to-date.
- Create a New Wallet or Recover an Existing One You’ll have the option to create a new wallet or recover an existing one using your recovery seed.
- Backup Your Recovery Seed This is the most important step. Write down your recovery seed and store it offline in a secure place. Never share it with anyone or store it digitally.
Trezor Login: How to Access Your Wallet Safely
Once your device is set up, you’ll use the Trezor Login to access your wallet through Trezor Suite or supported third-party apps. Unlike traditional logins, your Trezor wallet doesn’t have a username and password. Instead, it uses your physical device and PIN for authentication.
Here’s how the Trezor Login works:
- Connect your Trezor to your computer.
- Open Trezor Suite or the compatible wallet you’re using.
- Enter your PIN directly on your Trezor device.
- Confirm actions on the device screen for added security.
This method ensures that even if your computer is compromised, hackers can’t access your funds without the physical device and your PIN.
Tips for Keeping Your Trezor Secure
- Always Use Official Links: Only visit Trezor.io/start and avoid unofficial websites that could be phishing scams.
- Keep Your Firmware Updated: Regular updates fix security vulnerabilities.
- Store Your Recovery Seed Offline: Consider using a fireproof and waterproof storage option.
- Never Share Your PIN or Seed: Trezor support will never ask for your recovery seed.
- Use a Strong PIN: Avoid simple combinations like 1234.
Final Thoughts
Getting started with Trezor.io/start is the safest way to set up your hardware wallet and protect your crypto investments. By following the setup instructions carefully and using the secure Trezor Login, you add a powerful layer of protection to your digital assets.
If you haven’t secured your crypto yet, don’t wait any longer — visit Trezor.io/start today and take control of your financial future with confidence.
Made in Typedream